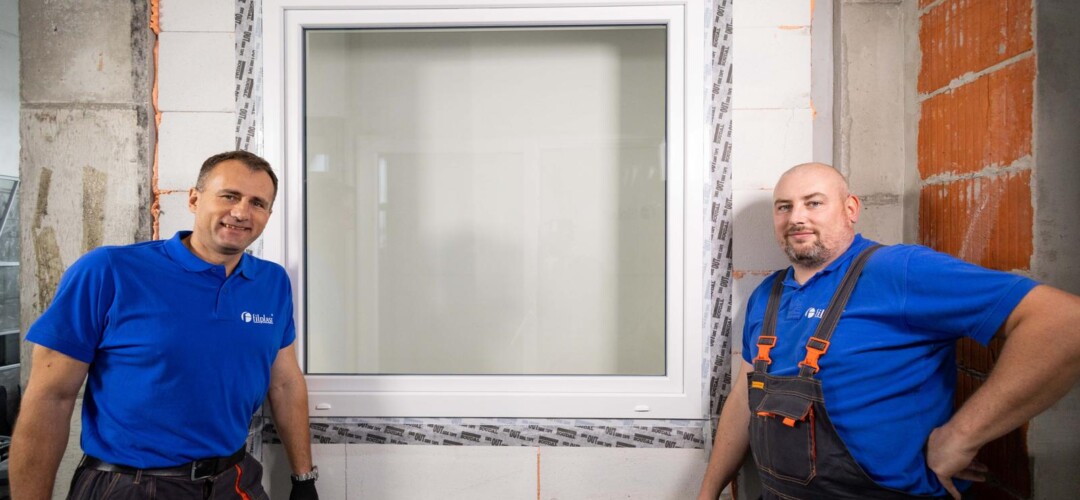
Installing a PVC window yourself may seem challenging, but with the right tools, materials, and a detailed guide, you can do it like a pro! The tutorial below, along with the installation video, shows how to complete the process correctly while avoiding common mistakes.
Tools and Materials Needed for Window Installation
Before you begin, prepare the necessary tools and installation materials.
Tools:
- SDS screwdriver
- PVC hammer
- Installation handle
- Adjustment keys for fittings
- Level
- Cross-line laser
- Vacuum cleaner
Installation materials:
- Screws
- Mounting foam
- Functional tape
- Load-bearing pads
- Wedges
- Mounting anchors
- Expansion plugs
Step 1: How to Properly Prepare the Window Opening for PVC Joinery Installation
The first stage is preparing the window opening. This includes:
- Smoothing the surface where the window will be mounted and where tapes will be applied
- Preparing the wall finish depending on the wall type (e.g. plastering ceramic walls or priming aerated concrete walls)
- Removing dust and debris from the opening
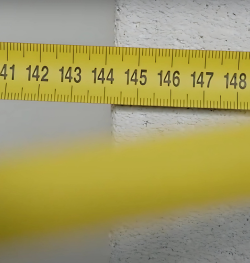
Step 2: Measuring the Opening and Window Structure Before Installation
Measure the depth, width, and height of the window opening precisely. Remember:
- Installation gaps should be 1–2 cm on each side
- The window structure should be 2–4 cm smaller than the opening
Step 3: Preparing the Window Structure
Remove the sash from the frame and place it safely on rigid Styrofoam or cardboard. Check if the window and opening dimensions match. Also inspect for any damage from transport or improper storage.
Important!
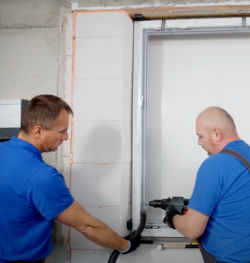
Lifting, installing, or removing the frame or sash should be done by at least two people.
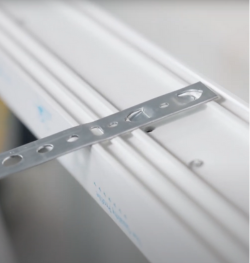
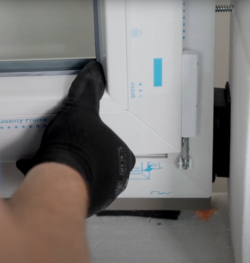
Step 4: Positioning Mounting Holes in the Frame
Mounting holes are located in the window frame. Proper spacing of holes or anchors is 15 cm from each internal corner of the structure. The distance between mounting points must not exceed 70 cm. If it does, add an extra point. Optionally, use anchors fastened to the frame with a self-drilling screw. The anchor must be fixed to the wall in two places.
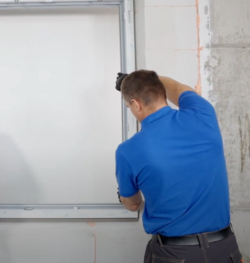
Step 5: Placing the Frame into the Opening and Securing with Load Pads
Insert the frame into the opening. Then place load-bearing pads to improve stability. They should be positioned so they cannot be removed during the next steps. Before continuing, check if the frame is level.
Step 6: Wedge the PVC Frame
Once leveled, use wedges in the vertical corners of the frame to:
- Ensure the frame’s stability
- Maintain correct horizontal and vertical alignment
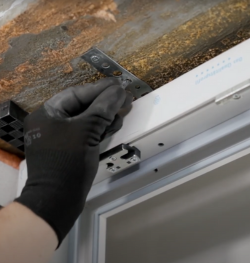
Step 7: Anchoring the Frame
Drill holes in the wall and secure screws or plugs in the marked mounting points.
Step 8: Mounting the Sash into the Window Frame
Before mounting the sash, vacuum the frame to remove dust after drilling. Then install the sash and check that it opens and tilts correctly.
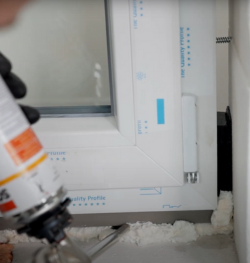
Step 9: Filling Gaps with Mounting Foam
Fill the space between the wall and the frame with appropriate foam:
- Standard foam is suitable for temperatures from 5 to 35°C
- Winter foam is suitable for installation from -10 to 5°C
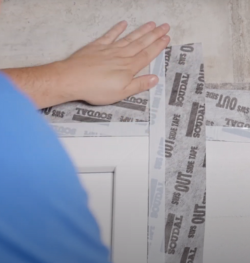
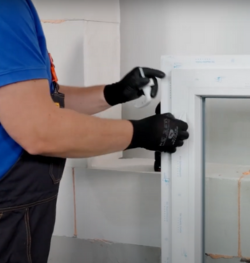
Step 10: Sealing the Window with Functional Tapes
Finish by applying functional tape to the frame and the wall to ensure airtight sealing between the window and the building structure.
Window Installation – YouTube Tutorial
Before starting the job, watch the full tutorial on YouTube. It presents the complete installation process including all the steps above. It will help you avoid common mistakes and ensure a correct and precise installation.
Want to sell or install our window joinery?
Get in touch with us and discover all the B2B benefits we offer!